Petticoat Sewing Pattern
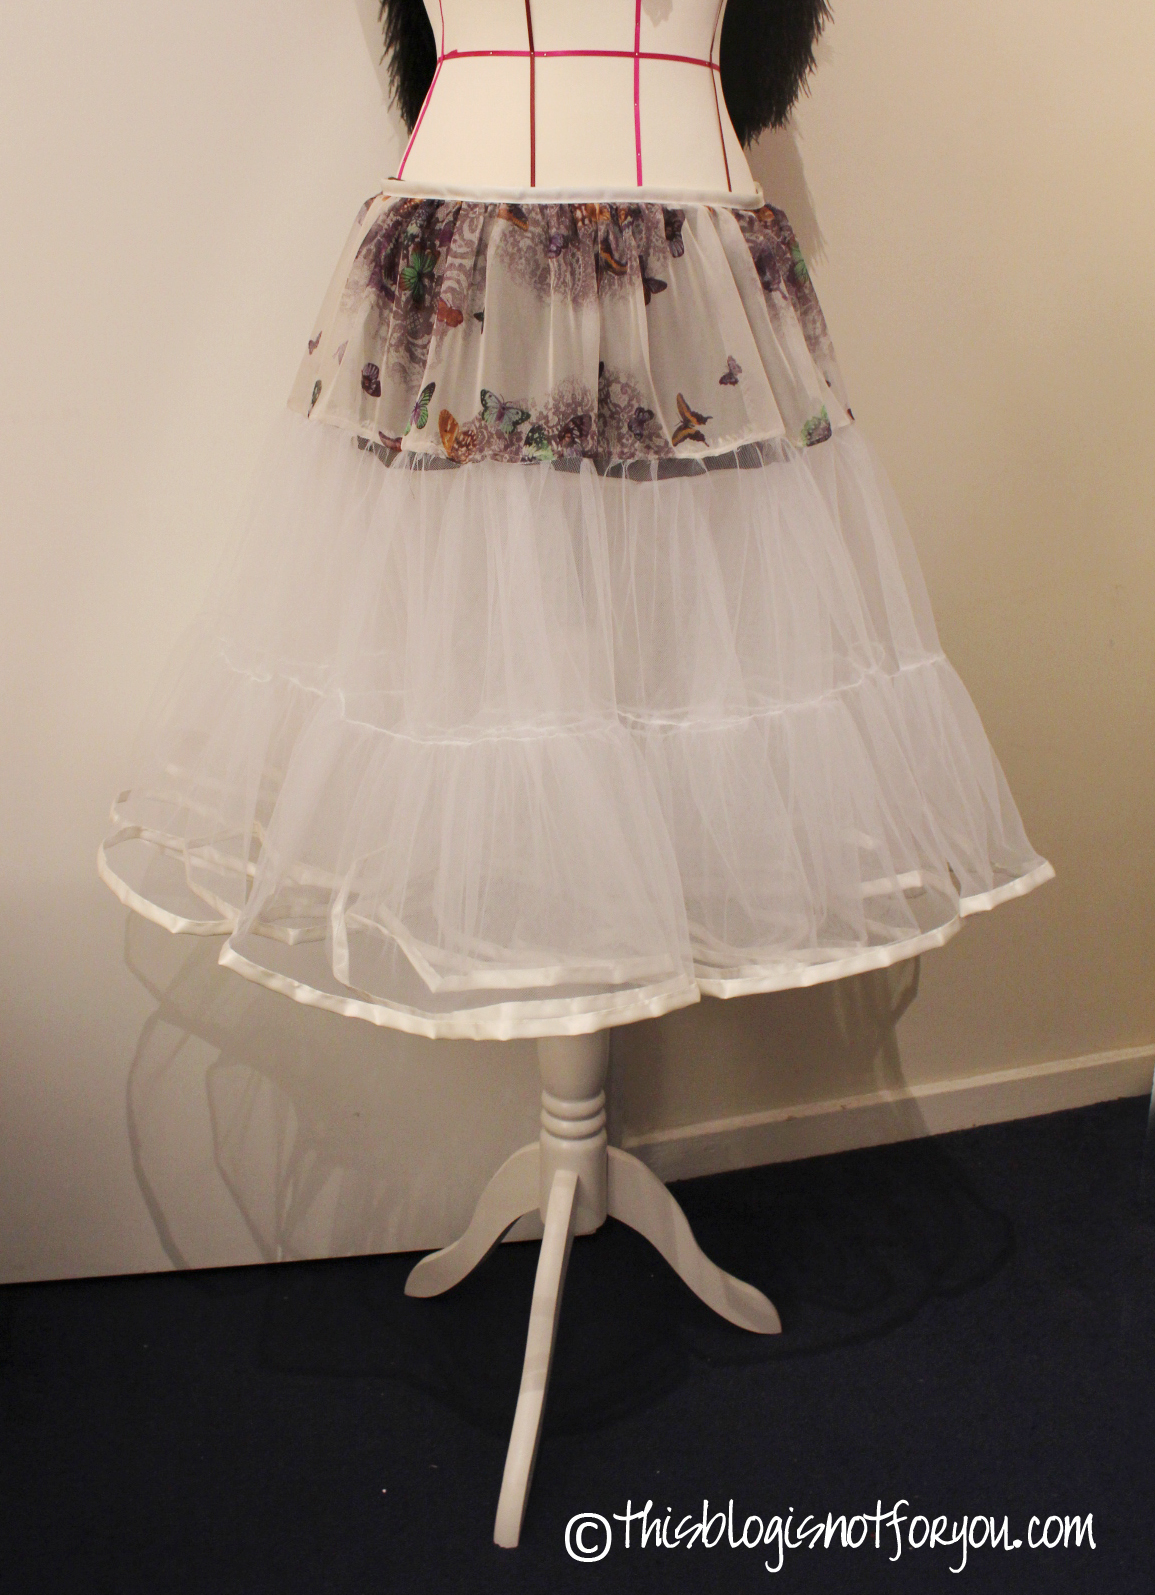
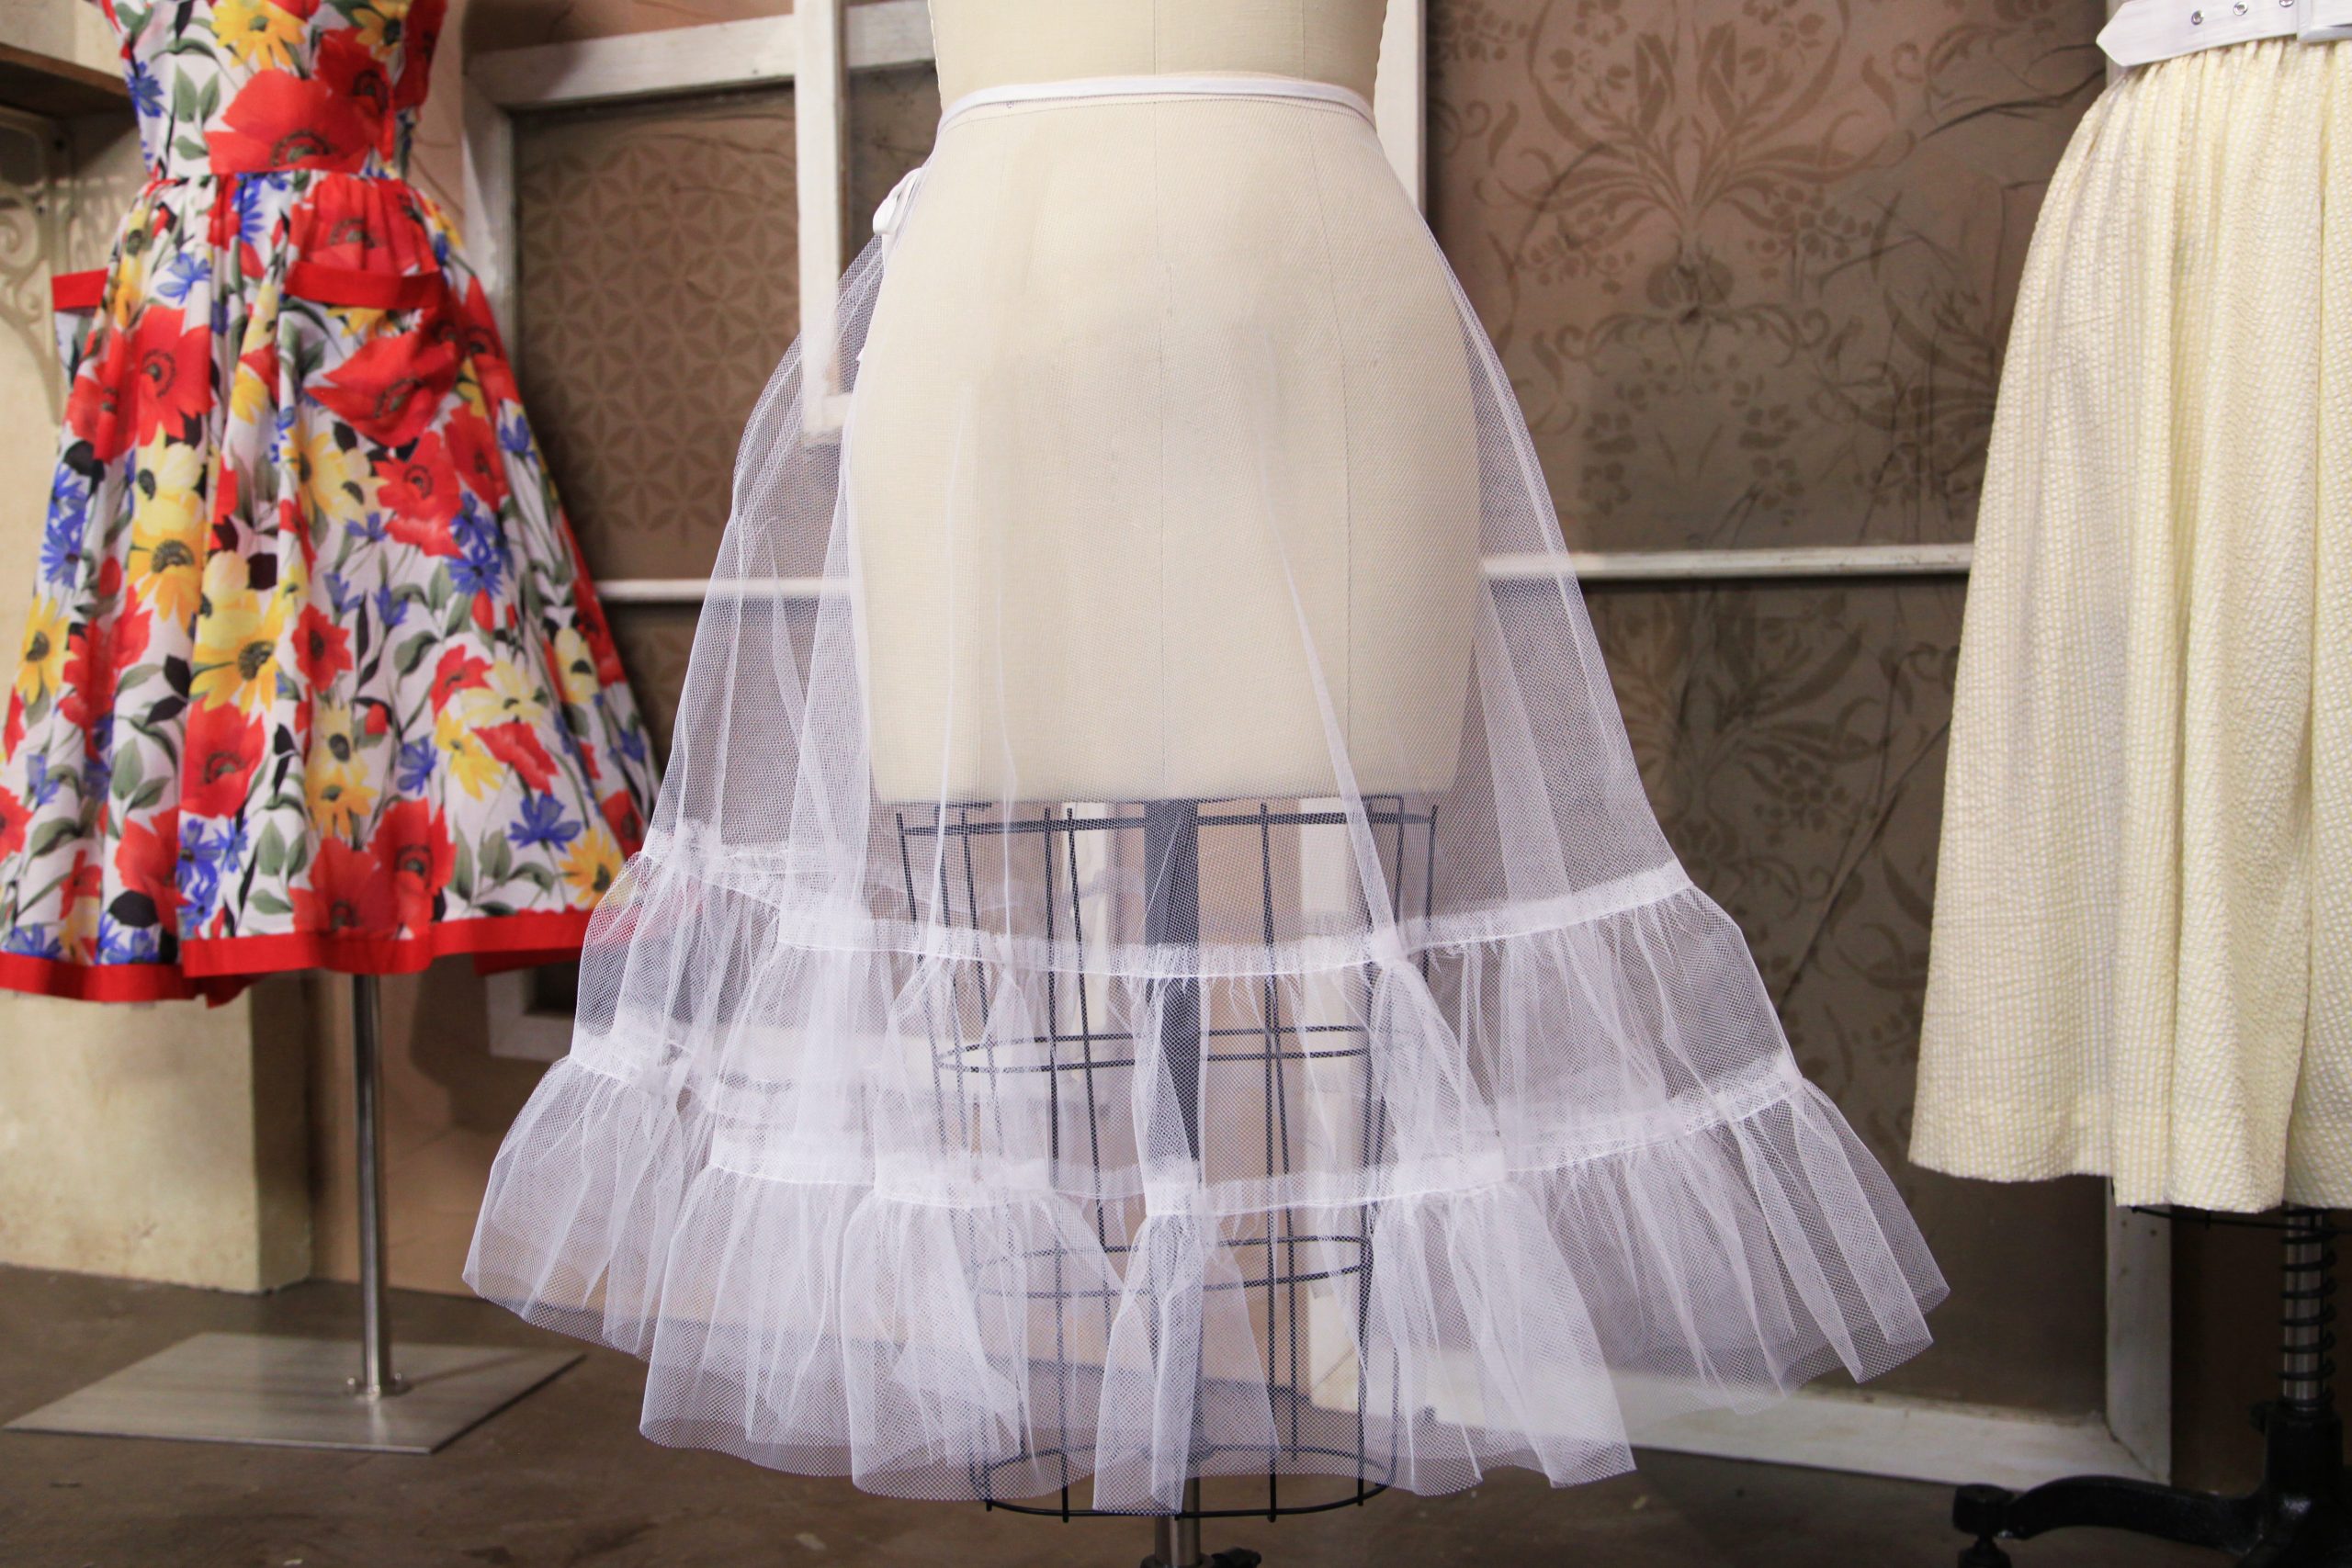
Petticoat Sewing Pattern - Web a petticoat skirt free sewing pattern for you today. Womens fashion to sew as you like: That is sewing together the pieces for the single tiers, hemming and gathering the bottom tier. It was initially published in 1982 and retired because the methods to create the pattern were those used before 1989. From installing practical pockets to mastering topstitching for added durability, this pattern serves as an excellent foundation for honing your sewing skills. Whimsical, classic, elegant, romantic, old fashioned or fashionable. Prepare bottom tier (15 yards long, 8 wide): Web free tutorial with pictures on how to make an underskirt in under 120 minutes by dressmaking with fabric, thread, and sewing machine. Essentially this is a 3 tiered ruffle skirt. 6 panel petticoat and fish cut petticoat skirts It is so simple to make, and i’ve given a tutorial on how to sew this below. How to posted by sarania. Web i based the pattern on the width of my fabric + the dimensions of the skirts in a couple of dresses ca. Web ever wanted to make your own custom clothes, home decor, costumes or accessories? Web looking to add some flirty fullness to your favorite vintage dress? Web check out our royal petticoat selection for the very best in unique or custom, handmade pieces from our women's clothing shops. There are many, many different silhouette options for a petticoat; That is sewing together the pieces for the single tiers, hemming and gathering the bottom tier. Sew strips together to form even longer strips, then once you have 15 yards of strips sewn together, sew the ends together, so you have a long circle. How it looks depends on your fabric and embellishments you choose to add. Join us in this basic sewing class and learn about sewing safety, basic sewing machine skills and stitching seams. Womens fashion to sew as you like: This is just one which happens to be very suitable for a 1960s bell shaped silhouette. Web the perfect petticoat is a quick and easy sewing pattern and can be worn under any dress. Web check out our royal petticoat selection for the very best in unique or custom, handmade pieces from our women's clothing shops. Web with this beautiful petticoat sewing pattern, you'll feel transported back into a bygone era without sacrificing modern luxury and comfort. Web ever wanted to make your own custom clothes, home decor, costumes or accessories? This is just. Web because the 1950s petticoat is pretty sheer, i’m wearing it over my diy vintage tap pants and a 1950s slip. 6 panel petticoat and fish cut petticoat skirts In the photo above you can see what the dress looks like with and without the petticoat. That is sewing together the pieces for the single tiers, hemming and gathering the. Web looking to add some flirty fullness to your favorite vintage dress? How to posted by sarania. Web a petticoat skirt free sewing pattern for you today. A precise pattern is the key to a successful project that is represented from an idea sketches, images, measurements, soft and hard products to lead to a real product. Web check out our. This is just one which happens to be very suitable for a 1960s bell shaped silhouette. Essentially this is a 3 tiered ruffle skirt. Web the perfect petticoat is a quick and easy sewing pattern and can be worn under any dress with full skirt for extra pouf and volume. Web the secret to full skirts and gowns is a. Web looking to add some flirty fullness to your favorite vintage dress? Web the secret to full skirts and gowns is a petticoat. The recommended fabric is tulle or petticoat netting. Web first of all, for sewing a petticoat one starts from bottom to top. This free skirt pattern stands out from the crowd and can be customized with your. Sew strips together to form even longer strips, then once you have 15 yards of strips sewn together, sew the ends together, so you have a long circle. Web a petticoat skirt free sewing pattern for you today. How to posted by sarania. 6 panel petticoat and fish cut petticoat skirts Web so i discovered how to make a crinoline. In the photo above you can see what the dress looks like with and without the petticoat. This 1950s petticoat is for sale at www.bluevelvetvintage.com. Sew strips together to form even longer strips, then once you have 15 yards of strips sewn together, sew the ends together, so you have a long circle. 1810 in janet arnold’s patterns of fashion. Web how to make a petticoat: How to posted by sarania. Essentially this is a 3 tiered ruffle skirt. 1810 in janet arnold’s patterns of fashion and cassidy percoco’s regency women’s dress. A precise pattern is the key to a successful project that is represented from an idea sketches, images, measurements, soft and hard products to lead to a real. How to posted by sarania. Web we offer sewing services in orlando, altamonte springs, winter garden, sarasota, tampa, and miami, and from the first sample to the final production, we are committed to excellence in sewing and design. It is so simple to make, and i’ve given a tutorial on how to sew this below. Web what sets this pattern. It is a fitting skirt from the waist to the hip and then panels flaring slightly to the hem. Web with this beautiful petticoat sewing pattern, you'll feel transported back into a bygone era without sacrificing modern luxury and comfort. Web our early 1900s petticoat sewing pattern is an old favorite and an original past patterns design. Prepare bottom tier (15 yards long, 8 wide): Web looking to add some flirty fullness to your favorite vintage dress? Web the perfect petticoat is a quick and easy sewing pattern and can be worn under any dress with full skirt for extra pouf and volume. There are many, many different silhouette options for a petticoat; That is sewing together the pieces for the single tiers, hemming and gathering the bottom tier. Web ever wanted to make your own custom clothes, home decor, costumes or accessories? In the photo above you can see what the dress looks like with and without the petticoat. Web how to make a petticoat: History of the 1950s crinoline underskirt. A precise pattern is the key to a successful project that is represented from an idea sketches, images, measurements, soft and hard products to lead to a real product. To sew together the ends of the top tier. 1810 in janet arnold’s patterns of fashion and cassidy percoco’s regency women’s dress. Sew strips together to form even longer strips, then once you have 15 yards of strips sewn together, sew the ends together, so you have a long circle.
29 Petticoat Sewing Pattern Free Claireandersoncabeauty
Easy Petticoat Tutorial Sewing Projects
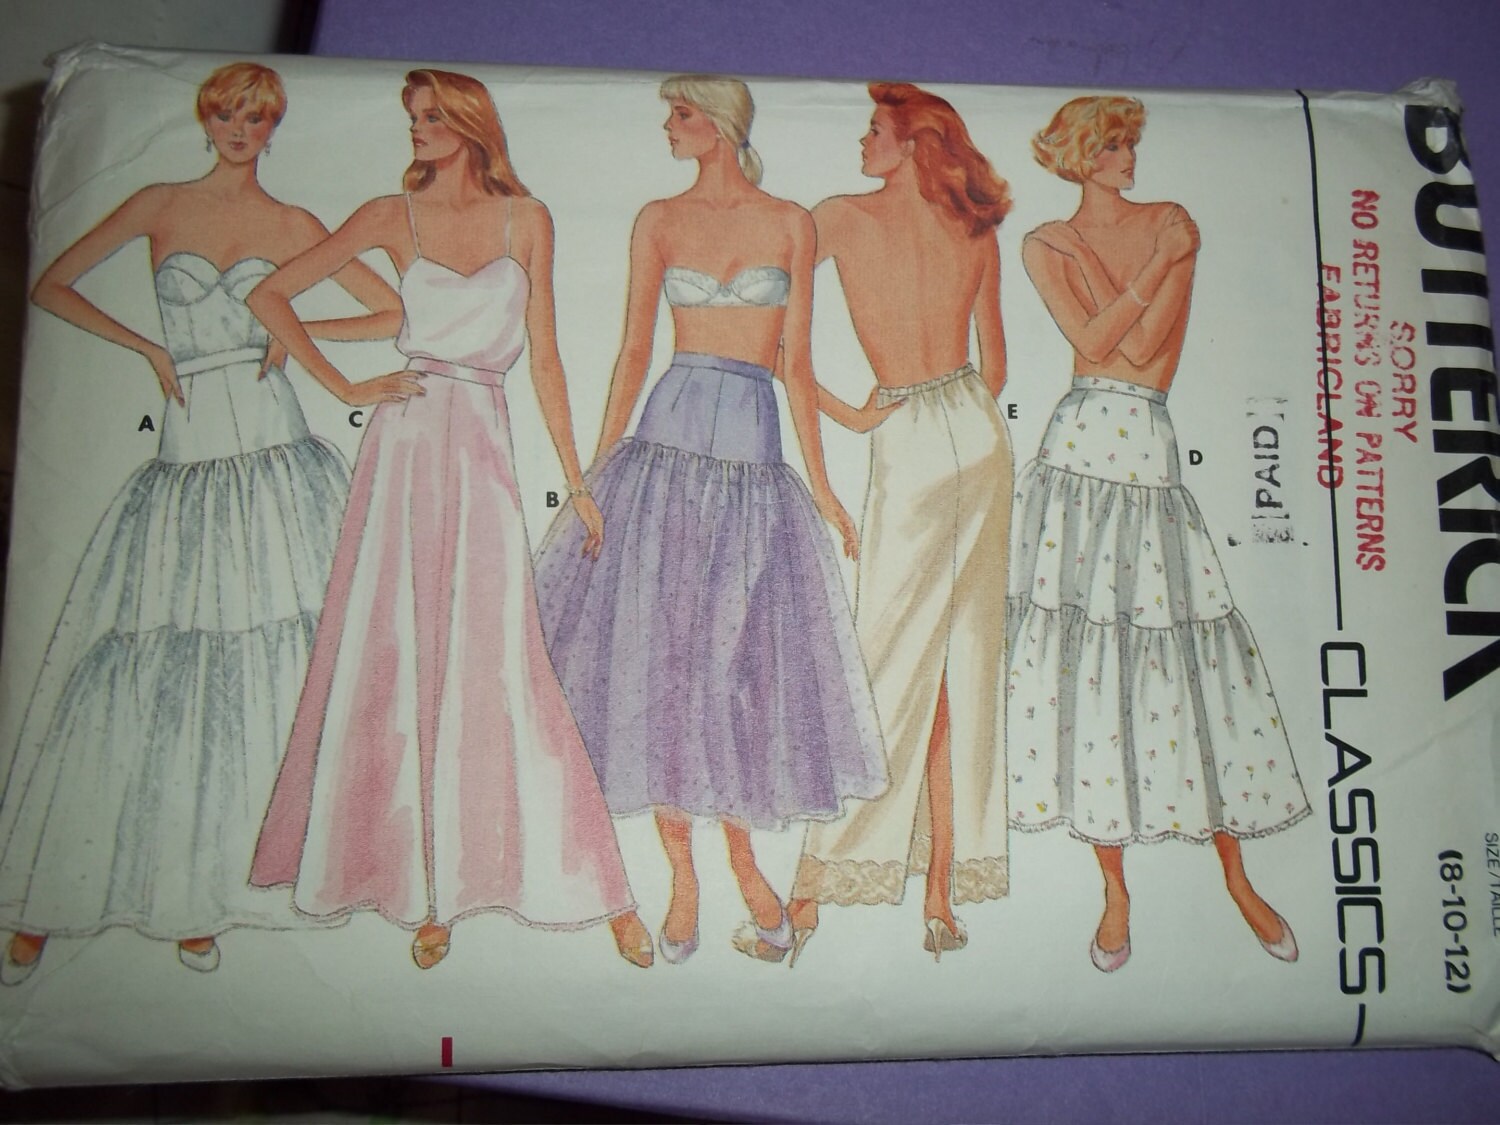
Butterick 4407 Petticoat sewing pattern tiered by nancesnostalgia
22+ Designs Net Petticoat Sewing Pattern LeviRiordan
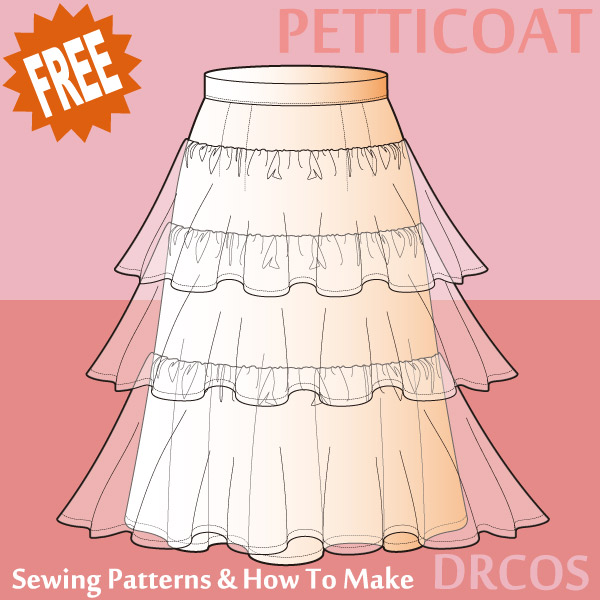
Petticoat Sewing Patterns DRCOS Patterns & How To Make

Sew Fantastic Petticoat Tutorial

Incredible Petticoat tutorial by J.Hart Design Imgur Diy sewing

1950s petticoat sewing pattern RuqaiyaEllis

How To Sew A Petticoat A StepbyStep Tutorial Sewing dresses

1910s "Willa" Petticoat Pattern PDF Printable Bella Mae's Designs
Web The Petticoat Is Sewn By Dealing With The Bottom Tier First, Then Working Your Way Up To The Waist, Tier By Tier.
Essentially This Is A 3 Tiered Ruffle Skirt.
This Is Just One Which Happens To Be Very Suitable For A 1960S Bell Shaped Silhouette.
Vintage Full Skirts From The 1950S And Early 60S Often Need A Suitable Petticoat Underneath To Help Shape The Desired Silhouette.
Related Post: